I've noticed that a lot of people at my school have been asking me, "Eskän, how do you DO that?!" in reaction to when I show them some of my works on Acorn. I believe that Acorn is a harder graphics program to use rather than photoshop, which gives you guide lines when using it for digital art. Now, the art I am about to show you is my own, with my own characters so I would appreciate it if you did NOT COPY. This character is from my series I will be starting when I figure out how to animate on Elements 6. It is called Ultimate Crusade, which was changed from "Final Battle" because it reminded me of "Final Fantasy" a little too much. Olive Tree has seen some of my wolves from it, such as "Crow" (Ikkeketsu Ituruga). The names mostly consist of Japanese but there are some German names as well! ;D
To get to the point, I am going to give you a tutorial, so here you are, this is how I draw on Acorn with a trackpad:Step 1)
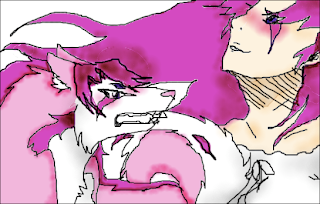
Although I've already drawn this wolf (because you all know that I am capable of this), I will show you the steps of how to draw a human with shading such as the wolf. Remember to save before you draw the person, animal, object, or scenery in back just in case you make an 'oopsie'!Step 2)Now, draw the what you want in back. I drew a human (the human form of the wolf, Rin, actually). This is one of the hardest steps to accomplish and once you started to color it in, you MAY NOT GO BACK to fix it, so keep that in mind when doing this.Step 3)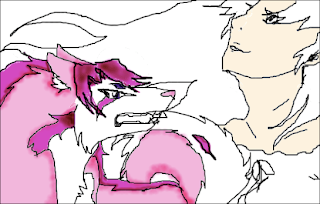
Now it is time to start to fill in your image. If you are using Acorn, I suggest you use 'flood fill' to color it in. Make sure it is an enclosed space, otherwise it will flood fill the whole image.
Step 4)
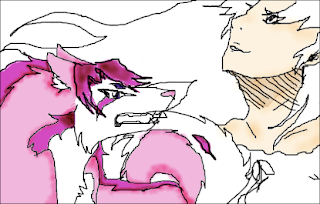
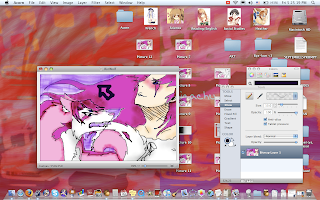
Now, you may hit the 'draw' tool for shading. Enlarge the size and range of the pencil (yes, use pencil). Use the same color as you used on 'flood fill' or it will appear too dark.
Step 6)
Now color in another part (we do this color by color, or you could be difficult too...) of the image. If you notice a white lined area around your eraser marks, do not fret. This will mostly be resolved when you add the rest of the shading.
Step 7)
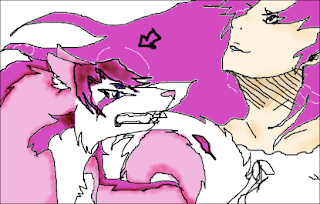
Look over your product so far and fix any shading that doesn't look right or where there need be more shade, etc.
Step 9)

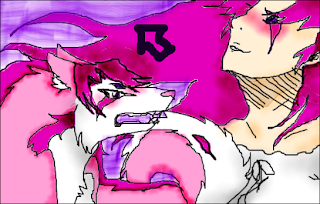
Here is where I add necessary details including: eye color, blush, etc.
Step 10)
Now, it's time for me to add any grayscale colors. Here, I use a very light, off-white gray color. I have also added to the wolf as you can see. This ( I know you know, but what the hey...) is used to help identify shadows.
Step 11)
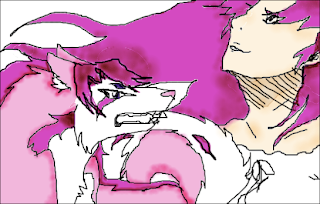
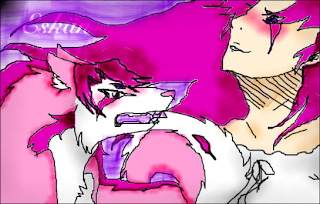
Now it is time for the background color. Make sure to leave no white space where there should be a background!
 It is okay for you to over lap a bit. This gives the illusion that the object (hair, in this case) is not perfectly solid or has many strands - such as hair.
Final Step - Step 12)

-
Eskän


3 comments:
So cool!!! You are a great artist!! (not as if you don't already know that...)
Aw, thanks! Yeah, this took me about an hour, it takes great patience to do this kind of stuff. I appreciate you compliments!
wow. just, wow.
Post a Comment